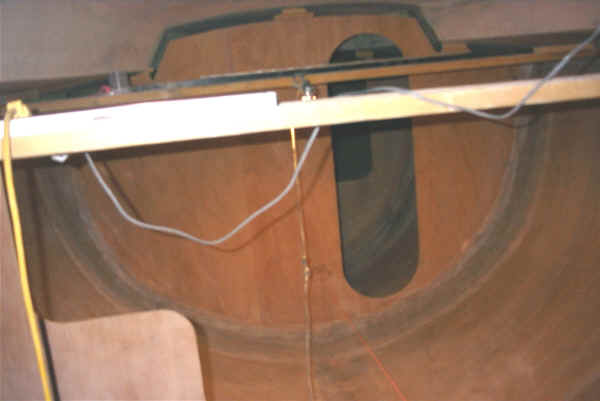
Main salon starting point looking toward forward cabin doorway.
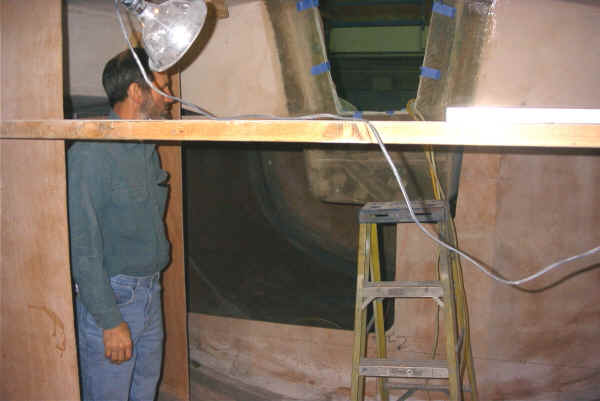
Steve in head. Main salon looking into starboard quarter berth
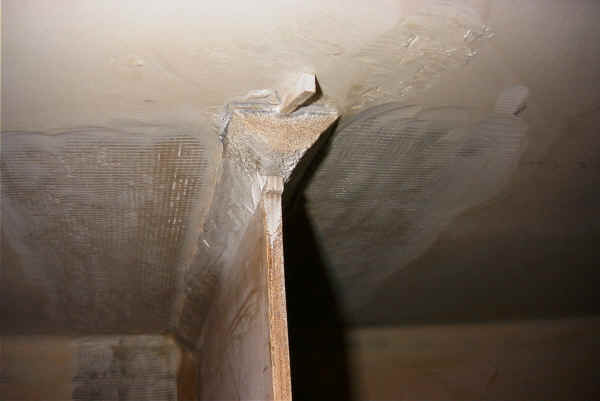
A triangular piece of foam forms the transition from the plywood wall to the deck or hull to spread out the load so there won't be a "hard spot" where the deck or hull would try and flex. The deck, foam and plywood are bonded together with epoxy paste made by mixing silica powder into the West System Epoxy.
Another view of bulkheads waiting for the fiberglass treatment.
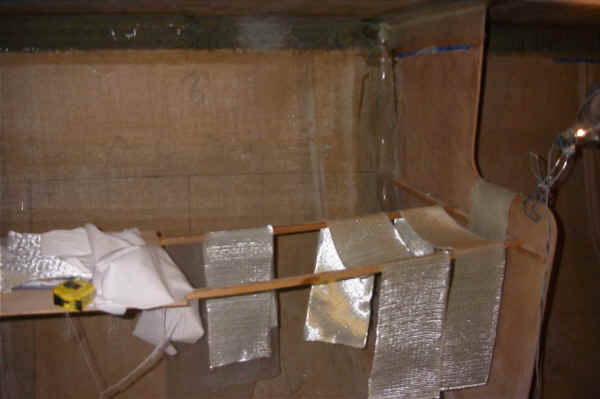
8" wide fiberglass tri-axial cloth strips waiting to be used to cover the foam and bond the joint together

Bruno is applying finishing touches to the fiberglass strip.
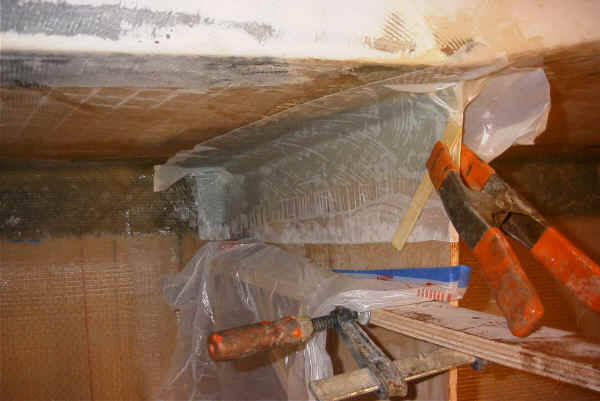
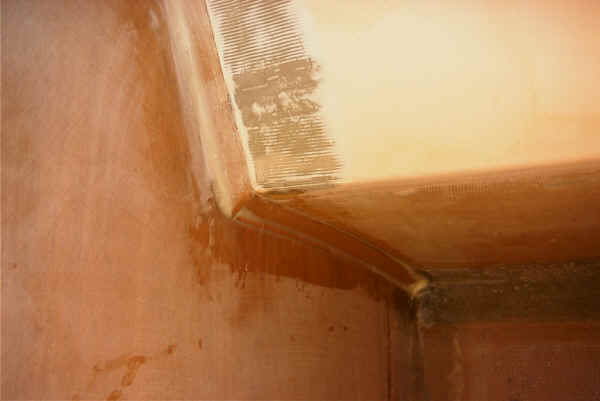
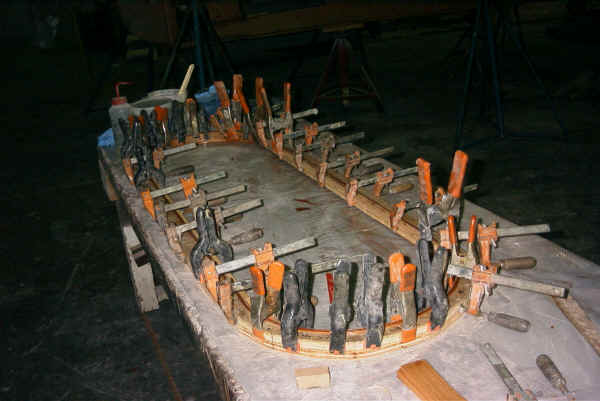
Clamps hold the bulkheads aligned while the epoxy is setting up. The white cloth is "peel-ply" It is pressed in place over the wet fiberglass to give it a smooth surface, and rough texture to make the next steps easier. After the epoxy is set, the peel-ply is removed.
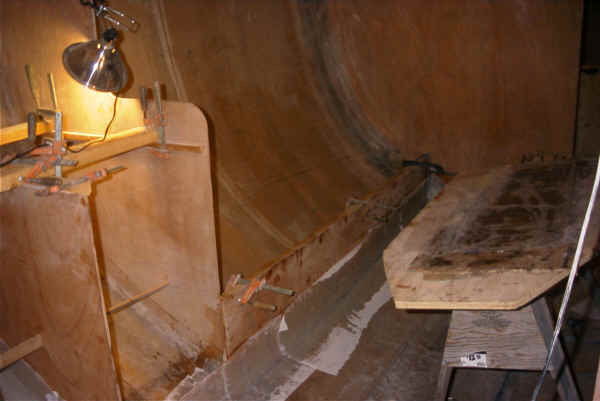
The galley bulkheads get the same procedure. The clamping arrangement allows the foam to be slipped out for applying the epoxy without the bulkheads moving. The settee front is already glassed and the peel-ply is on. The table to the right is where we wet out the fiberglass strips before putting them in place.
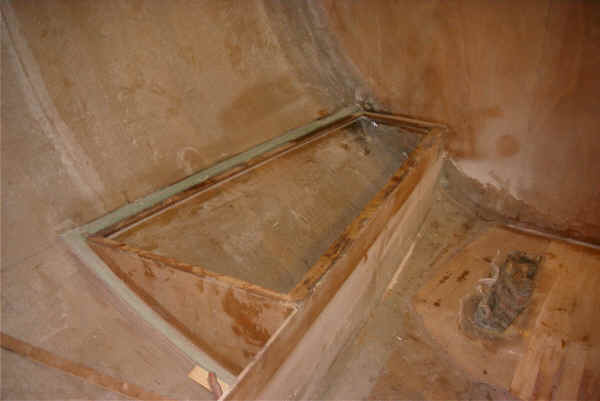
The water tank is ready for glassing
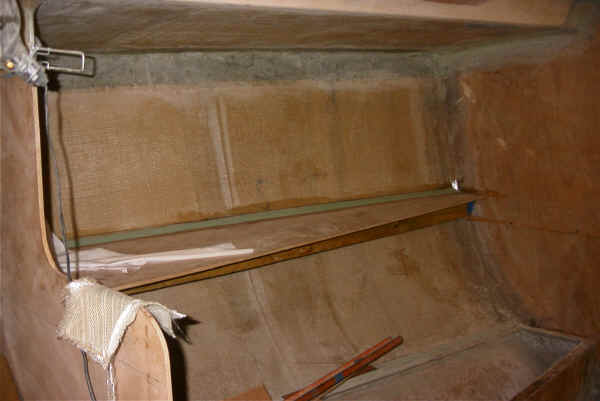
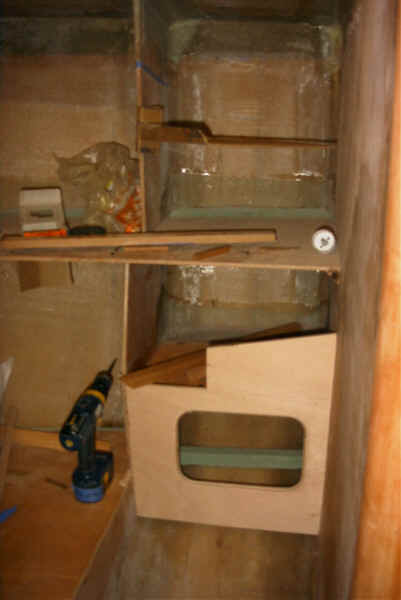
The shelf is glued in with epoxy paste, and supported by a two by four waiting to be glassed in place.
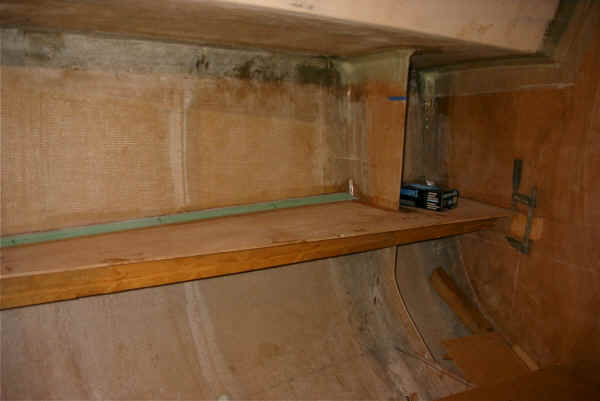
Same thing on the nav station side
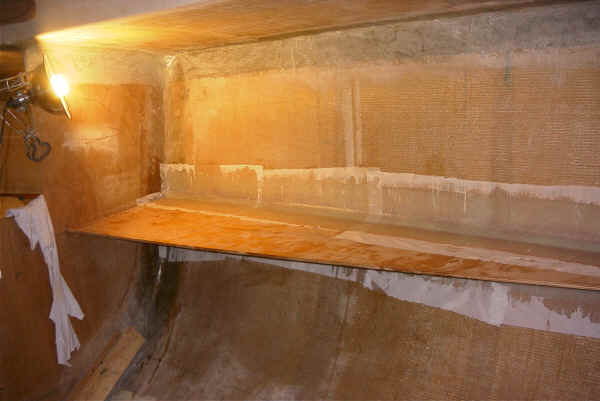
The shelf has been glassed and the peal ply is waiting to be removed. The peal ply makes the surface smooth and ready for the next layer without sanding or grinding.
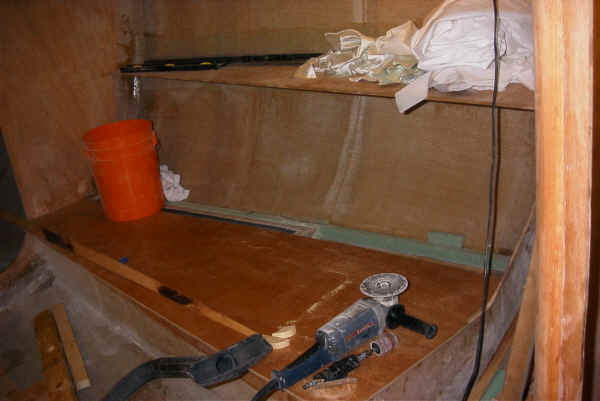
The cover is now in the settee
I'm laminating up the door frame out of 1/32" thick laminations
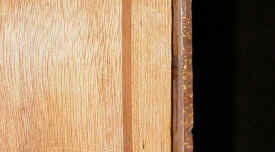
Hard to see, but the thin laminations look like wood grain rather than layers. The finished and cleaned up lamination is the second stripe from the right. The first stripe is a laminated strip with the epoxy not yet cleaned up.
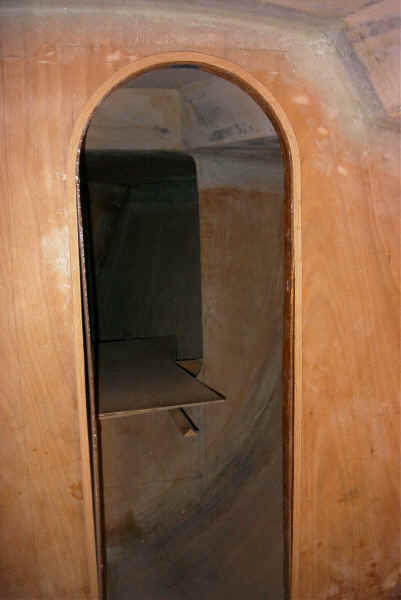
Here is the rough door frame. Now it needs to be shaped into a smooth round easy to grip profile and glued into place. The frame will be varnished wood, and the walls will be painted a light grey.
The beginning of the nav center. The electronics will go above, books in the middle, and other storage below. The nav table will be mounted to the wall on the right, and its top will match the slanted edge. The computer will be mounted on the wall on the right above the nav station.
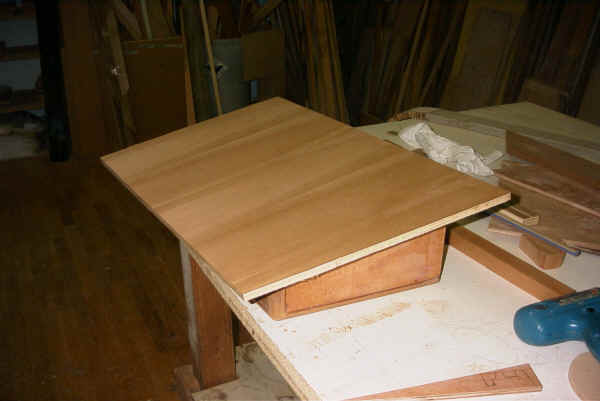
Here is the nav table. The top and corners are mahogany. The sides will be painted.
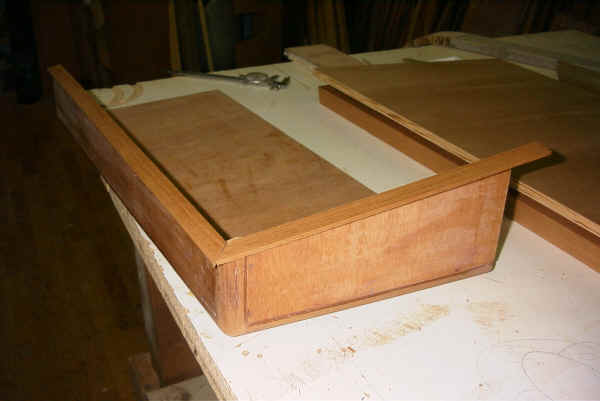
With the top off you can see how the trim is fitted so that the edges of the plywood will be finished in varnished mahogany.