The empty hull, ready for the work to begin
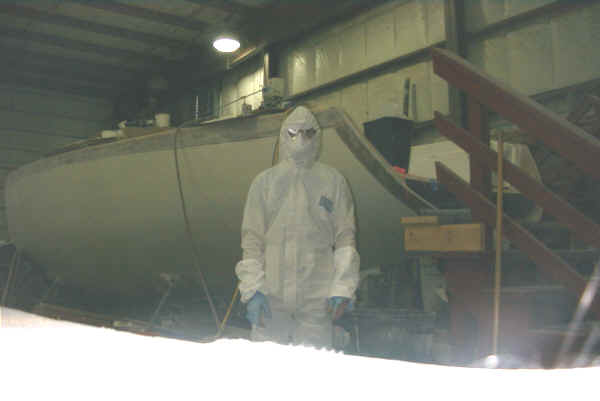
All the edges of the fiberglass needed to be sanded smooth, and that involved lying in that cramped space and grinding - the protective clothing actually worked and I didn't itch much.
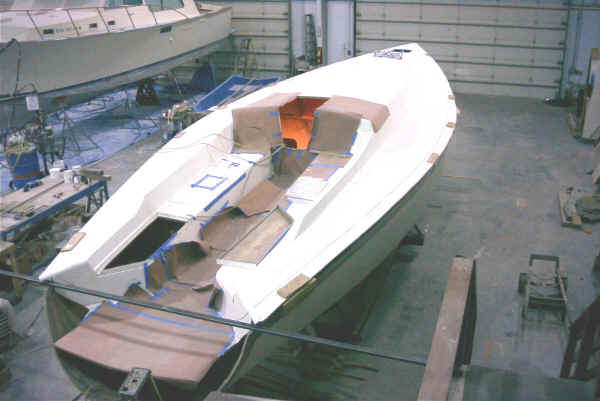
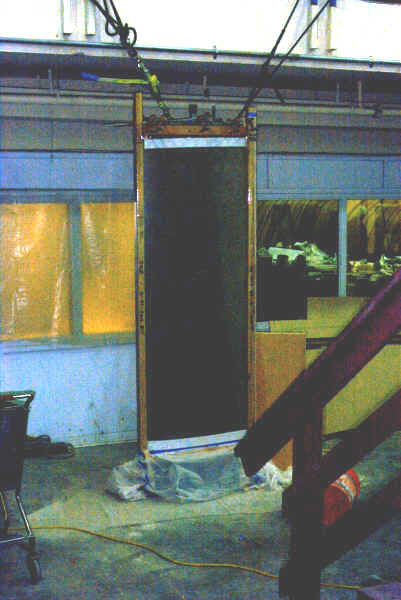
This shows how initially the hull and deck were held apart for shipment and installing of the primary bulkheads -- so large sheets of plywood could slide in through this crack.
This view taken from waterline
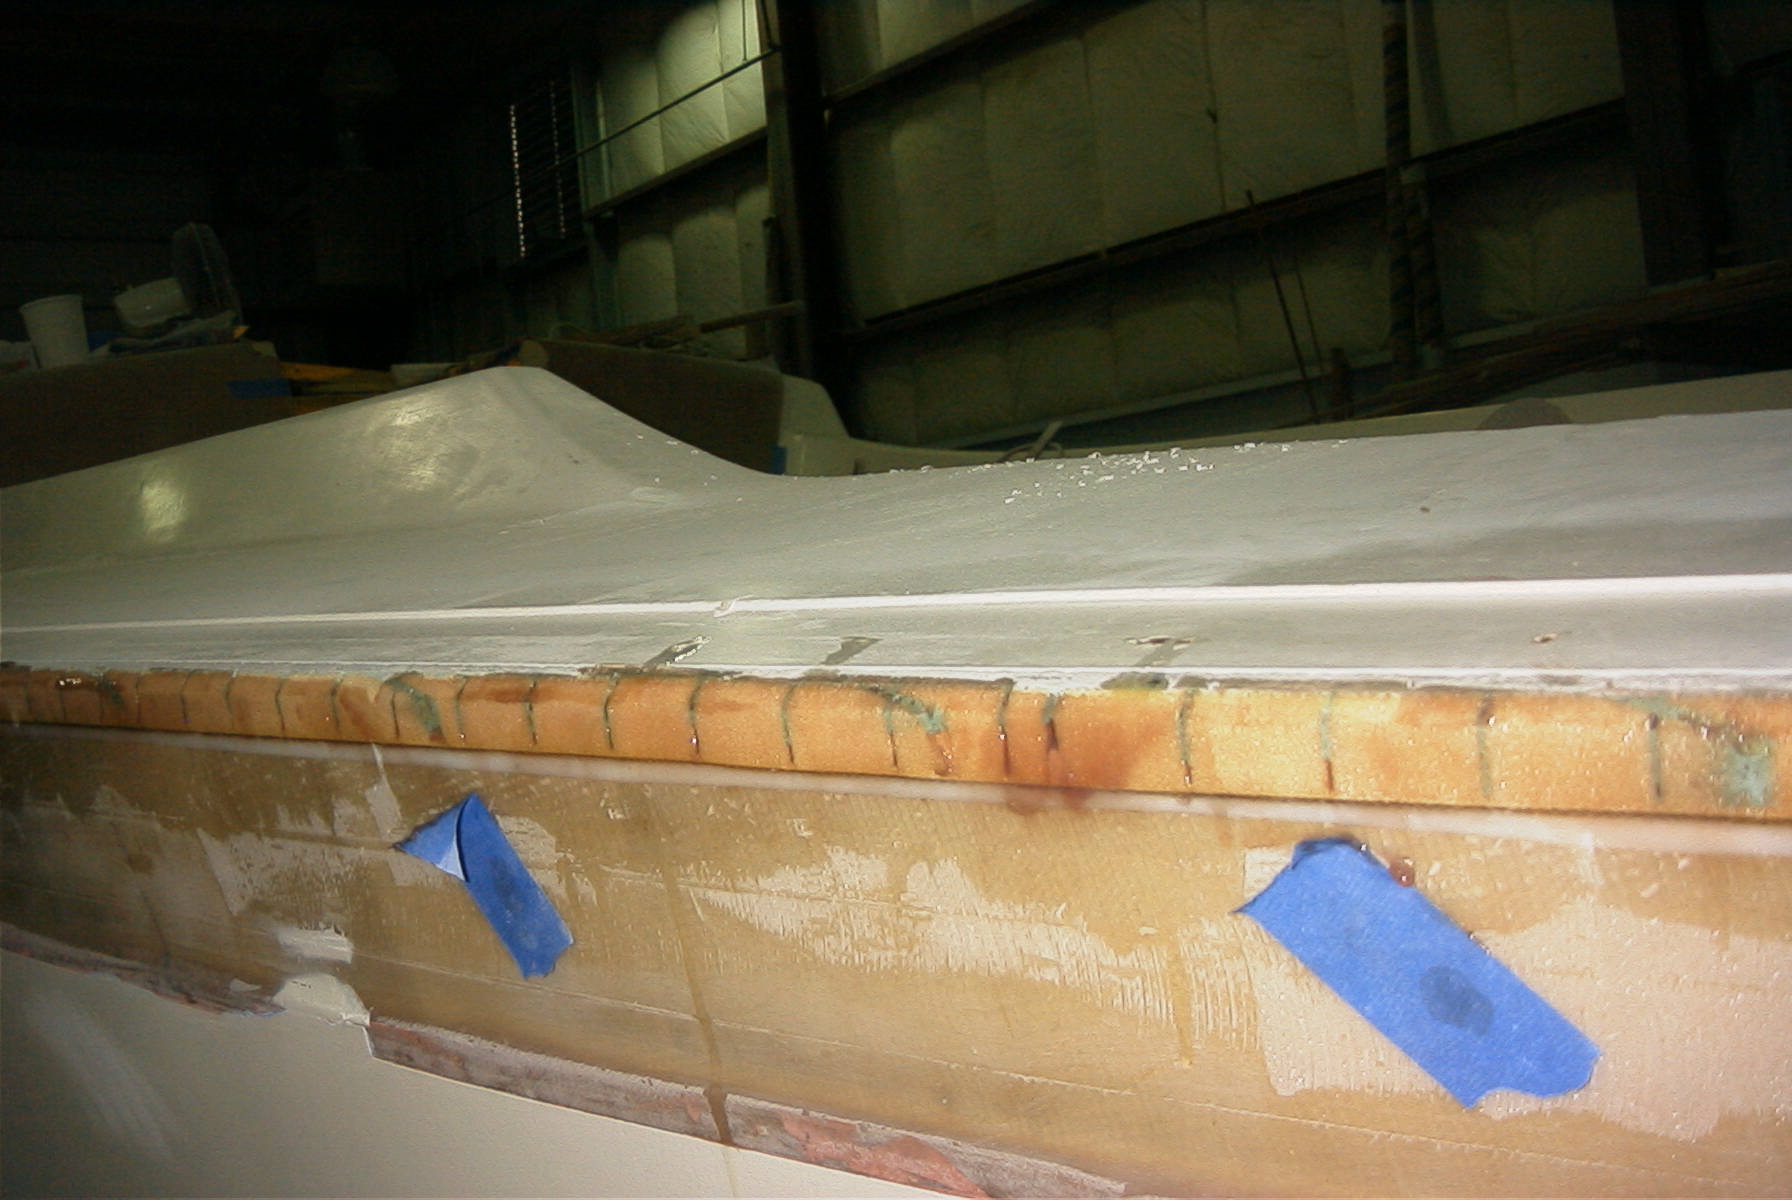
After the hull and deck were fit together they were bonded all around with the glass strips in the inside like the bulkheads. Then the overlapping edge of the deck was trimmed and rounded, all the voids were filled with putty and sanded smooth ready for the exterior layers of glass. Indentations were left in the joint area so the added glass will sit flush with the hull and deck.
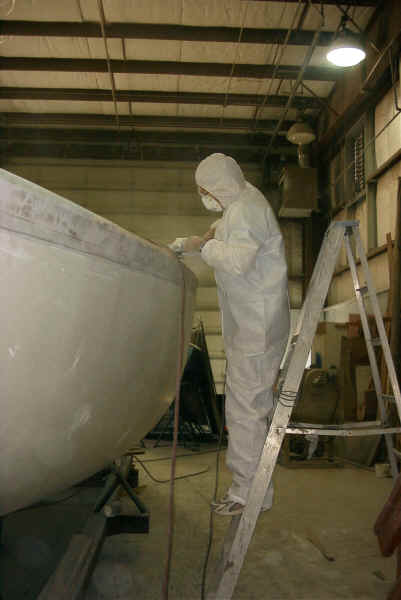
Pete is preparing the joint for the exterior fiberglass bonding.
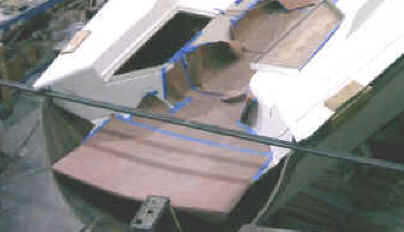
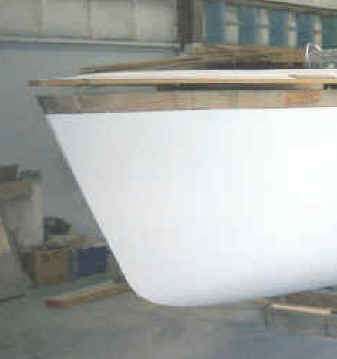
Here you can see the transom section where the deck and hull don't completely fit together (because they come from two different boats).
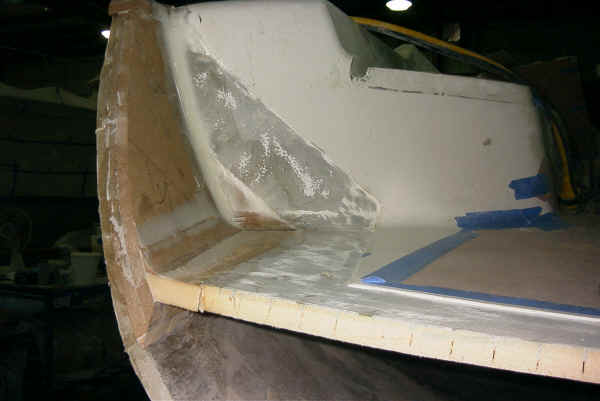
Pete sculpted the missing parts of the transom from foam and epoxy putty. It is ready to be fiberglassed.
This is the beginning of the Keel Well. The keel is inside, and the wooden ends occupy the space where the UHMD plastic slides that hold the keel in place will be. The foam and fiberglass keel well will be made around this mold, then we will haul the welded steel keel to a foundry for casting the lead bulb The keel well will be installed into the hull, and the keel will be slipped in from the bottom when it is done.
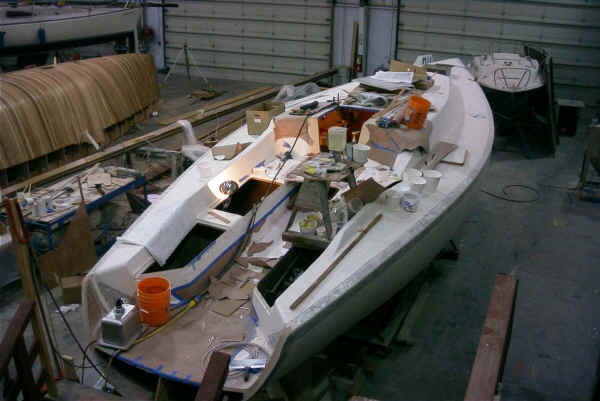
Here is an overview of the boat with all the construction under way. The saw-horse table has all the fiberglass/epoxy supplies.
The wooden boat in the background is another Wylie 43 race boat. This
shows the plug that will be used to make a mold for the boat.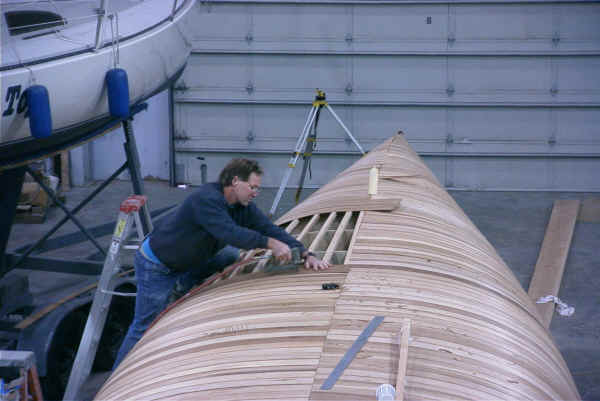
Here Pete is laying the cedar strips on the framework for the Wylie Wildcat. This is the same way the mold for my boat was made.
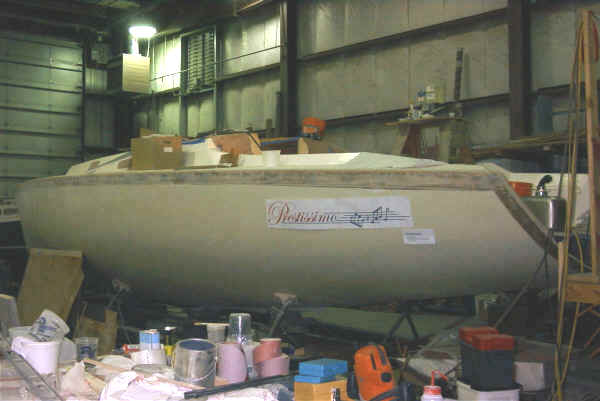
Prestissimo, with it's logo on the side.

Here is the mockup for the Dodger. It is designed to fold flat against a combing that we will construct on the deck.
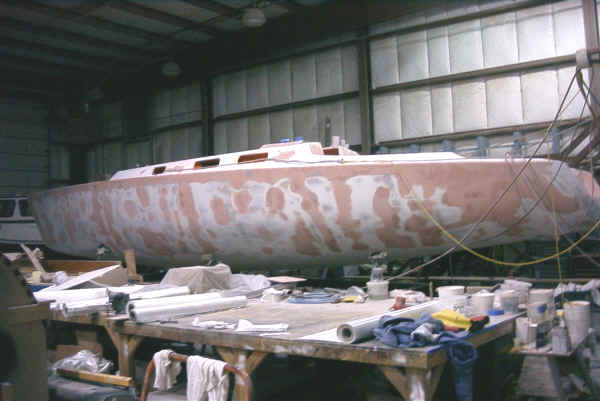
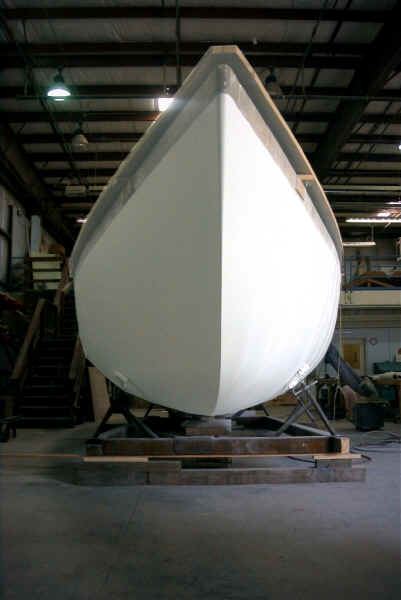
The hull wasn't "fair", so it was sanded with a "longboard" which was a grueling week-long project for two. The hull was sprayed with a mist of black laquor as a marker coat. Then with a 4' long board it was sanded off until the high spots were down to fiberglass layer. Then fairing compound was used to fill the low areas, and the sanding was repeated. The resulting red spots show the filled areas. The worst ones tend to be about 1/16" thick.
A barrier coat will be applied over this, and then the final paint.

The same was done to the deck, and I cut the port openings in. Where cutouts are made, I removed the foam from around the edge, and filled the space with epoxy putty.
Note that the combing for the dodger has been created.